

















Plumbing can look deceptively simple on paper, but the moment you’re crammed under a kitchen sink or trying to line up fittings behind a toilet, reality kicks in. Whether you’re fixing a leak or attempting a full bathroom refresh, one thing’s for sure: cutting corners now means problems later.
Here’s how to get the job done right, even when it’s complicated, without sacrificing safety or quality.
First, Understand What You’re Dealing With
If the job looks awkward or confusing, don’t panic, you just need to step back and break it down and make sure it’s a job a professional shouldn’t be doing. Approach any DIY job with a clear strategy and use the right tools, and you can navigate even the most difficult situations with confidence.
So key things to consider:
- Is it a tight space?
- Are you working with old pipework (common in UK homes)?
- Do you know where the stopcock is?
Map out your plan before touching anything. Take photos before you start and label what you remove, it’ll save you headaches when reassembling.
Know What You Shouldn’t Touch
Some plumbing jobs are best left to the pros. Here’s what you should not do unless you’re certified:
- Work on gas appliances or pipework (you must be Gas Safe registered)
- Modify unvented hot water cylinders
- Bypass or alter boiler systems
All gas and some heating work is legally restricted in the UK. If in doubt, always contact a
Gas Safe registered engineer.
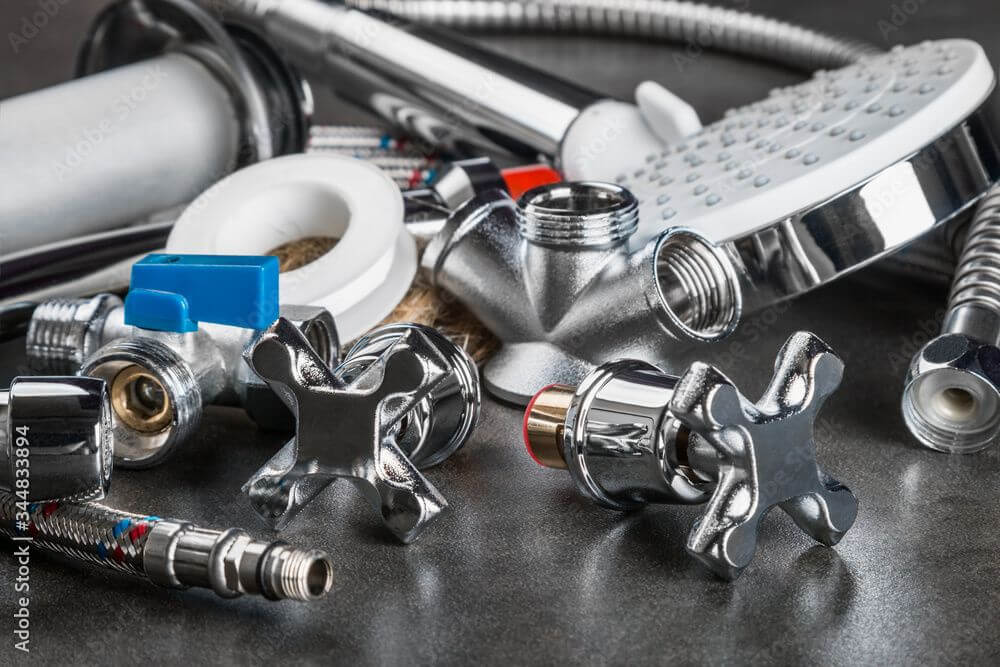
Use the Right Tools (Not Just What You Have Lying Around)
The right tool can make the difference between a solid fix and a future leak. Here are a few essentials:
- Pipe cutter (not a hacksaw): Makes a clean cut and avoids damaging fittings
- Pipe bender (for copper): Helps you avoid weak spots or awkward joints
- A good press tool makes tight spaces a breeze on copper pipes
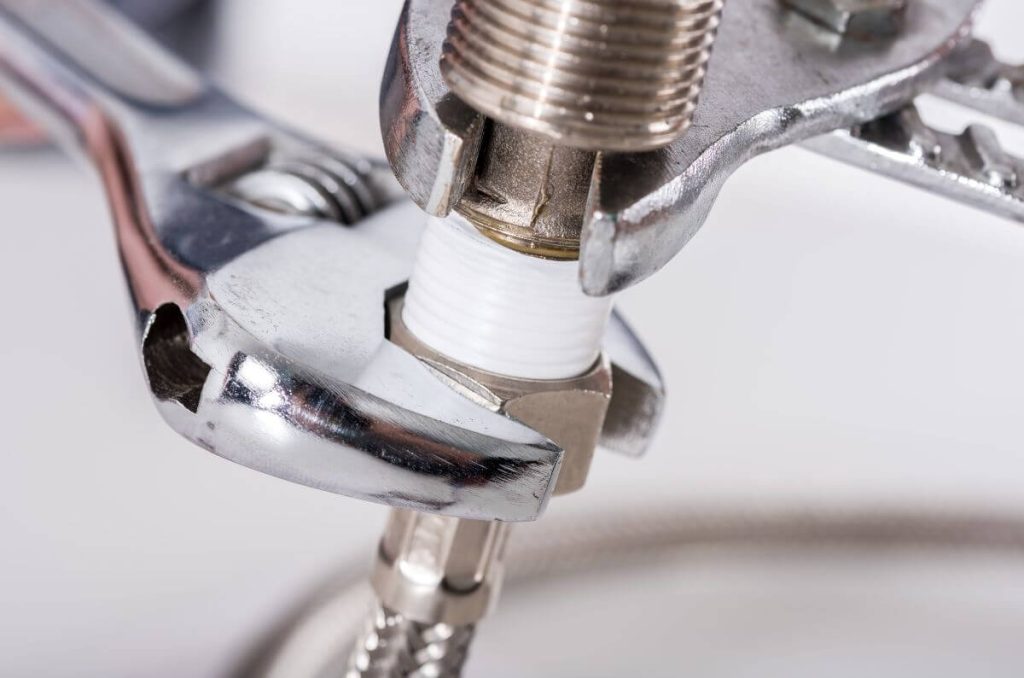
- Flexible wrench or basin wrench: Perfect for awkward taps or tight corners
- Press-fit or push-fit connectors: Safer for beginners, no flames needed
Pro Tip: Choose WRAS-approved fittings and tools. That means they meet UK safety and water standards.
Don’t Skip the Prep (Or the Tests)
Before you connect anything:
- Clean your pipes (especially copper) before joining
- Measure twice, cut once
- Apply PTFE tape to threaded joints
- Check water pressure after connecting, don’t wait for a drip to tell you something’s off
If you’re using push-fit connectors, ensure the pipe is fully inserted and marked. And for anything involving mains or heating, always shut off water first and drain down where needed.
Don’t Rush It
If you’re stuck mid-job:
- Take a break
- Recheck your fittings or instructions
- Ask in DIY forums or YouTube from trusted UK tradespeople (e.g. Skill Builder)
Plumbing is more about patience and planning than brute force. Many mistakes come from rushing or skipping checks.
Beginner Mistakes to Avoid
- Overtightening fittings (can crack plastic or strip threads)
- Skipping PTFE tape on threads
- Forcing misaligned pipes instead of adjusting properly
- Starting before shutting off water (rookie flood alert!)
- Guessing pipe size — always measure or check labels
Troubleshooting Tip: What to Do If Your Push-Fit Leaks
- Check if the pipe is fully inserted (look for depth markers)
- Ensure the pipe is clean, smooth, and cut square
- Remove, inspect, and reinsert, some fittings can be reused
- If still leaking, replace the fitting
Easy DIY Plumbing Jobs You Can Tackle
Fix a Dripping Tap
- Replace a worn washer or ceramic cartridge
- Usually just requires a wrench and a flat-head screwdriver
Replace a Toilet Seat
- Unscrew the old seat and bolt on the new one
- No plumbing lines involved
Unblock a Slow Sink Drain
- Use a plunger or unscrew the trap under the sink to clear debris
- Avoid chemical unblockers, try baking soda + vinegar first
Clean Tap Aerators
- Unscrew the aerator tip and soak in vinegar to remove limescale
- Boosts water flow without replacing the tap
Install a New Shower Head
- Unscrew the old one and fit the new with PTFE tape to prevent leaks
- Great for water saving or better pressure
Fit an Isolation Valve
- Adds shut-off control to individual fixtures
- Useful for future repairs without draining the whole system
Reseal Around a Bath or Sink
- Scrape off old silicone and apply new sealant
- Prevents water damage and mould build-up
Final Advice: Do It Like a Pro (Even if You Aren’t One)
You don’t have to be a qualified plumber to do solid work, but you do need to work smart. That means:
- Using the right tools and fittings
- Following UK plumbing guidelines
- Knowing when to stop and get help
Whether you’re changing taps, rerouting pipes, or tackling a bathroom makeover, a careful approach will get you better results, fewer leaks, and much more confidence for your next job.
Professional Advice
Make sure you follow best practices to ensure your work remains of high quality. It’s not just about the products you use, but how you use them. Selecting the right materials for the job – whether it’s the type of pipe or fitting – can prevent issues before they even begin.
Equally important is making sure you’re following industry standards for pressure tests, joint integrity, and durability. Plumbers who invest the time to check and recheck their work tend to encounter fewer issues later on. It’s this attention to detail that helps ensure the results speak for themselves.
Lastly, don’t underestimate the value of ongoing training and improvement. Every trade evolves over time, so stay updated on the latest techniques and tools. Check for a local training session, read up on the latest equipment, or simply talk to other professionals in the industry; knowledge is power. The more you know, the better prepared you are to handle whatever the job throws at you.