
















Mastering key camera settings, such as ISO, can significantly improve your everyday photos, transforming ordinary scenes into extraordinary memories. Understanding how to adjust these settings can enhance your photographic skills, allowing you to capture moments with clarity and emotional depth.
While some people may associate advanced camera settings with DSLR cameras, even the standard iPhone has the ability to edit and change key settings with 3rd party apps. These photography tips are for the amateur hobbyist looking for that extra edge.
Understanding ISO and Its Impact on Your Images
ISO is a fundamental aspect of photography, as it determines your camera’s sensitivity to light. In bright environments, using a lower ISO (e.g., 100-200) results in crisp, clean images without noticeable grain. On the other hand, in low-light conditions, increasing the ISO allows you to brighten your photos without relying on a flash, capturing details that might otherwise be lost in shadow.
For those starting out, it’s crucial to learn about camera ISO sensitivity is vital for any budding photographer to understand how it works and how to balance it with other key settings like shutter speed and aperture. When photographing outdoor moments on a sunny day, using a lower ISO will prevent overexposure, preserving sharpness.
When shooting an indoor event or evening gathering, raising the ISO can help reduce blur and ensure your photos are clear, even in dim lighting.
Tips for Adjusting ISO in Everyday Situations
Lighting conditions can change quickly, and knowing how to adjust your ISO is essential for achieving the right exposure. For instance, on bright days, you’ll typically want to use a low ISO (100-200). But if you move indoors or the light begins to fade at dusk, gradually increasing your ISO will help you maintain correct exposure while avoiding unwanted grain.
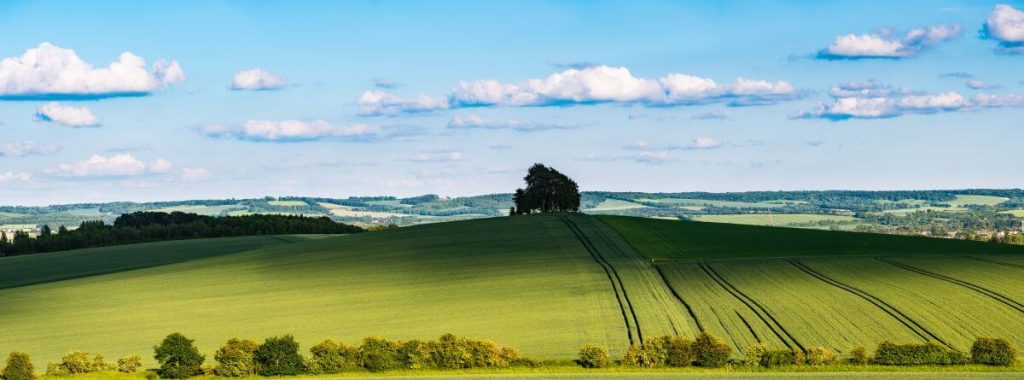
Take, for example, a community event at sunset. As the light dims, start with a lower ISO and gradually increase it to prevent blurry images. This will allow you to capture vibrant colours, such as the festive lights at the Christmas fair or the warmth of the sunset as the light fades beyond the Chiltern Hills.
Composition: Improving Your Photos with Smart Adjustments
While ISO is important, composition is just as critical in making your photos stand out. One fundamental technique to achieve a more harmonious composition is the rule of thirds. This involves dividing your frame into a 3×3 grid, positioning important elements along the lines or intersections. This technique helps create balance and naturally guides the viewer’s eye.
For instance, when photographing a sunset over the River Thames, placing the horizon along the top third of the image creates balance. Adjust your ISO to ensure the sky’s highlights are captured without losing detail in darker areas, like shadows on the water. This combination of thoughtful composition and precise ISO adjustments enhances the aesthetic of your photos, showcasing the beauty of Oxfordshire’s landscapes.
Additionally, experimenting with different angles can add depth and interest. For example, shooting from a low angle can emphasise the foreground, while a high perspective may offer a broader view of a scene. When combined with ISO adjustments, these techniques can create striking images that engage the viewer.

Advanced Photography Techniques: Long Exposure, White Balance, and Depth of Field
To further elevate your photography, exploring advanced techniques like long exposure, white balance adjustments, and depth of field can add a professional touch to your images. These techniques will help you expand your creative range and capture dynamic scenes with precision.
Long Exposure Photography: Capturing Motion in Stillness
Long exposure photography allows you to capture the effect of time in a single shot. By using a slow shutter speed (usually several seconds or more), you can convey motion, such as smooth flowing water or the light trails from passing cars at night.
For example, photographing a waterfall with a long exposure creates a silky effect as the water flows, turning a simple scene into a captivating work of art. Similarly, long exposure works beautifully for capturing starry skies, the Oxford city lights at night, or the local fireworks display.
Tip: To avoid camera shake and ensure sharp images, use a tripod or hold your camera steady. Experiment with shutter speeds from 1 second to several minutes, depending on the light and desired effect.
White Balance Adjustments: Enhancing Colour Accuracy
White balance adjusts the colours in your photos, ensuring they appear natural despite varying light sources. Different types of light, like sunlight, tungsten, or fluorescent, can cast different colour temperatures on your photos, making them look unnatural.
For example, fluorescent lighting may make photos appear greenish, while tungsten light gives them a yellowish hue. By adjusting the white balance, you can correct these colour casts and ensure accurate colour reproduction.
Tip: For more control, shoot in RAW format, allowing you to adjust the white balance later in post-processing without losing image quality. Experiment with settings for cooler tones in wintry scenes or warmer tones during the golden hour for stunning portraits.
Depth of Field: Controlling Focus and Background Blur
Depth of field refers to the range of sharp focus in your photo. A shallow depth of field (achieved with a wide aperture) keeps your subject in focus while blurring the background, making your subject stand out. A deep depth of field (using a narrow aperture) keeps most of the scene in focus, which is perfect for landscapes.
Shallow Depth of Field: Ideal for portrait photography, a wide aperture (e.g., f/1.8 or f/2.8) blurs the background, emphasising the subject. For example, capturing a flower against a blurred backdrop helps draw attention to the subject.
Deep Depth of Field: For landscapes or architectural shots, a narrow aperture (e.g., f/16 or f/22) ensures the entire scene remains sharp, from the foreground to the horizon.
Tip: Be mindful of how ISO and shutter speed interact with aperture. A wide aperture lets in more light, so you may need a faster shutter speed or lower ISO to avoid overexposure. Conversely, a narrow aperture requires more light, so you might need to increase the ISO or slow the shutter speed to get the correct exposure.
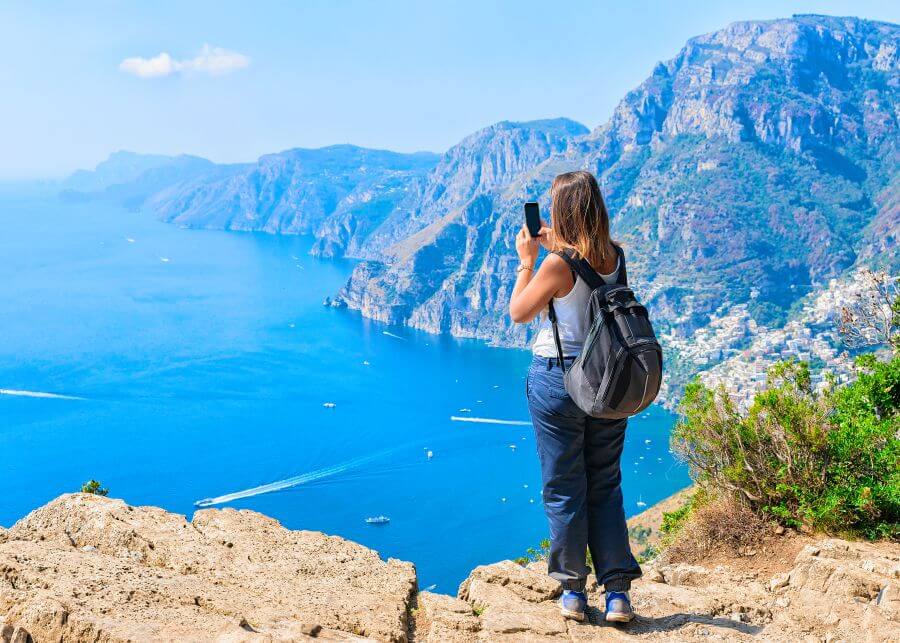
Capturing the Heart of Your Community Through Photography
Photography is an excellent way to document the many local events and cultural happenings in Oxfordshire. Whether you’re photographing a family gathering, the beauty of the countryside, a community festival, sports match or event like the Boat Race, mastering ISO and other settings will help preserve the atmosphere and energy of these moments.
For example, photographing a community fair at sunset can present shifting lighting conditions. By adjusting ISO gradually as the light fades, you can maintain image clarity and capture the colours of the event, even as it transitions into lower light.
Photography goes beyond just taking pictures; it’s about capturing stories as they happen. By adapting your settings to changing lighting, you create images that capture the essence of your community. Whether it’s a lively party or a quiet moment, each photo contributes to a larger narrative.
The Importance of Lighting in Photography
Lighting is one of the most powerful elements in photography. It influences the mood, texture, and overall quality of your images. Natural light, particularly during the “golden hour” (early morning or late afternoon), can provide a soft, warm glow that enhances depth and beauty.
However, bright sunlight can create harsh shadows. In these cases, reposition your subjects or use a higher ISO to balance the light. Capturing silhouettes when the sun is behind your subject can add drama, especially in landscape photography.
Experimenting with different times of day, such as photographing the warm hues of a sunset or the soft light of dawn, can yield beautiful results. Understanding how light changes throughout the day allows you to use it creatively to capture stunning, emotive photographs.
Portrait Photography: Capturing Connection and Emotion
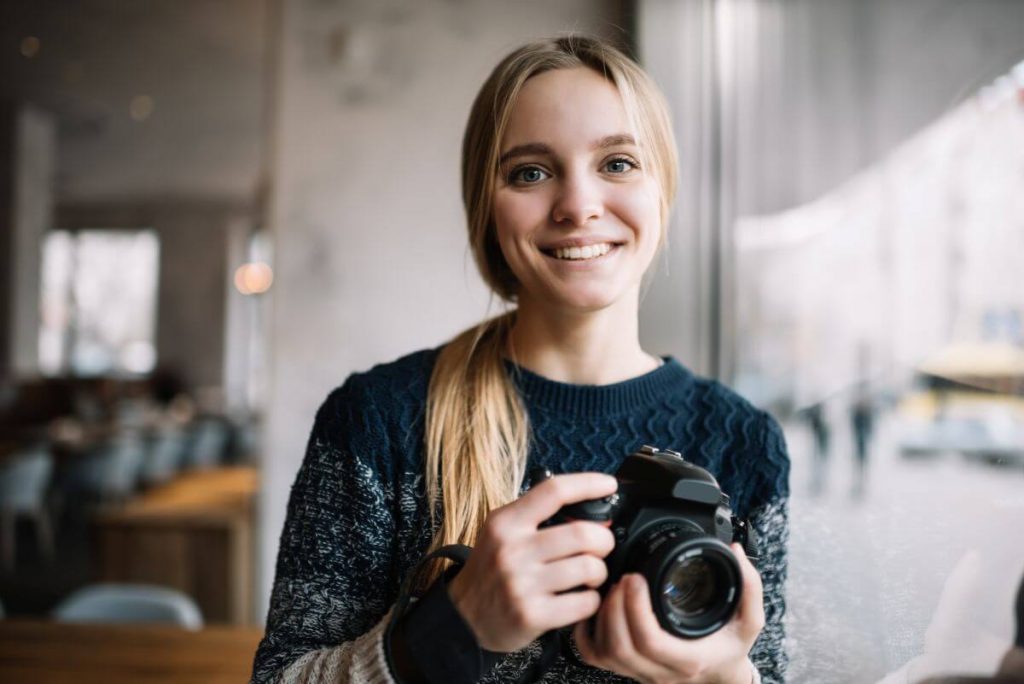
Portrait photography offers the chance to create intimate connections between your subject and the viewer. Whether you’re photographing a loved one or someone at a community event, adjusting ISO and lighting is essential for creating a successful portrait.
In low-light settings, increasing ISO helps keep your subjects sharp and avoids motion blur. Encourage your subject to relax and engage with their surroundings to capture natural, expressive portraits. Backlighting creates soft, flattering light, and adjusting ISO ensures proper exposure while highlighting your subject’s expressions.
Consider including elements of the environment in your portraits. For example, photographing a musician with an iconic landmark in the background can add context and depth, telling a more compelling story about the subject and their environment.
Experimenting with Camera Settings for Creative Effects
Photography is an art, offering endless opportunities for creative expression. While ISO controls exposure, experimenting with other settings like shutter speed and aperture, opens up new avenues for creativity.
Shutter Speed: A high shutter speed freezes fast-moving action, while slower speeds convey motion. For instance, capturing a dancer in mid-performance requires a slower shutter speed to convey movement, while freezing action at a sports match needs a fast shutter speed.
Aperture: A wide aperture (low f-stop) blurs the background to emphasise your subject, while a narrow aperture (high f-stop) keeps more of the scene in focus. Experimenting with these settings, in addition to ISO, allows you to create visually striking and emotive images.
Tip: Experiment with different settings and notice how they affect your shots. Whether you’re adjusting for artistic bokeh or capturing motion, each photo offers an opportunity to enhance your technique.
Mastering photography is about more than just technical knowledge; it’s about adapting to your environment and using the technology and tools at your disposal to capture the beauty around you. By understanding how to adjust ISO, experimenting with shutter speed and aperture, and paying attention to lighting and composition, you can transform everyday moments into powerful visual stories.
Whether you’re documenting your local community events or creating intimate family portraits, these simple adjustments will help you create photos that reflect your unique perspective. So, grab your camera, embrace your surroundings, and start capturing the world around you with these practical tips and techniques.